LEMP Stack là sự kết hợp của phần mềm mã nguồn mở miễn phí. Từ viết tắt LEMP dùng để chỉ các chữ cái đầu của Linux (Hệ điều hành), Nginx Server, MySQL (phần mềm cơ sở dữ liệu) và PHP, PERL hoặc Python, các thành phần chính để xây dựng một máy chủ web mục đích chung khả thi.
Đầu tiên, chúng tôi cập nhật hệ thống để đảm bảo rằng tất cả các gói đã cài đặt của chúng tôi đều được cập nhật. Hệ thống Ubuntu của bạn có thể được cập nhật dễ dàng bằng lệnh sau.
apt update

apt upgrade
Cài đặt Nginx
Chúng ta sẽ bắt đầu bằng cách cài đặt máy chủ web Nginx. Để hoàn tất cài đặt, hãy sử dụng lệnh sau.
root@hostvn:~# apt install nginx
Reading package lists... Done
Building dependency tree... Done
Reading state information... Done
The following additional packages will be installed:
  fontconfig-config fonts-dejavu-core libdeflate0 libfontconfig1 libgd3
  libjbig0 libjpeg-turbo8 libjpeg8 libnginx-mod-http-geoip2
  libnginx-mod-http-image-filter libnginx-mod-http-xslt-filter
  libnginx-mod-mail libnginx-mod-stream libnginx-mod-stream-geoip2 libtiff5
  libwebp7 libxpm4 nginx-common nginx-core
Suggested packages:
  libgd-tools fcgiwrap nginx-doc ssl-cert
Sau khi cài đặt hoàn tất, hãy bật Nginx (để tự động khởi động khi hệ thống khởi động), khởi động máy chủ web và xác minh trạng thái bằng các lệnh bên dưới.
systemctl start nginx

systemctl enable nginx

systemctl status nginx
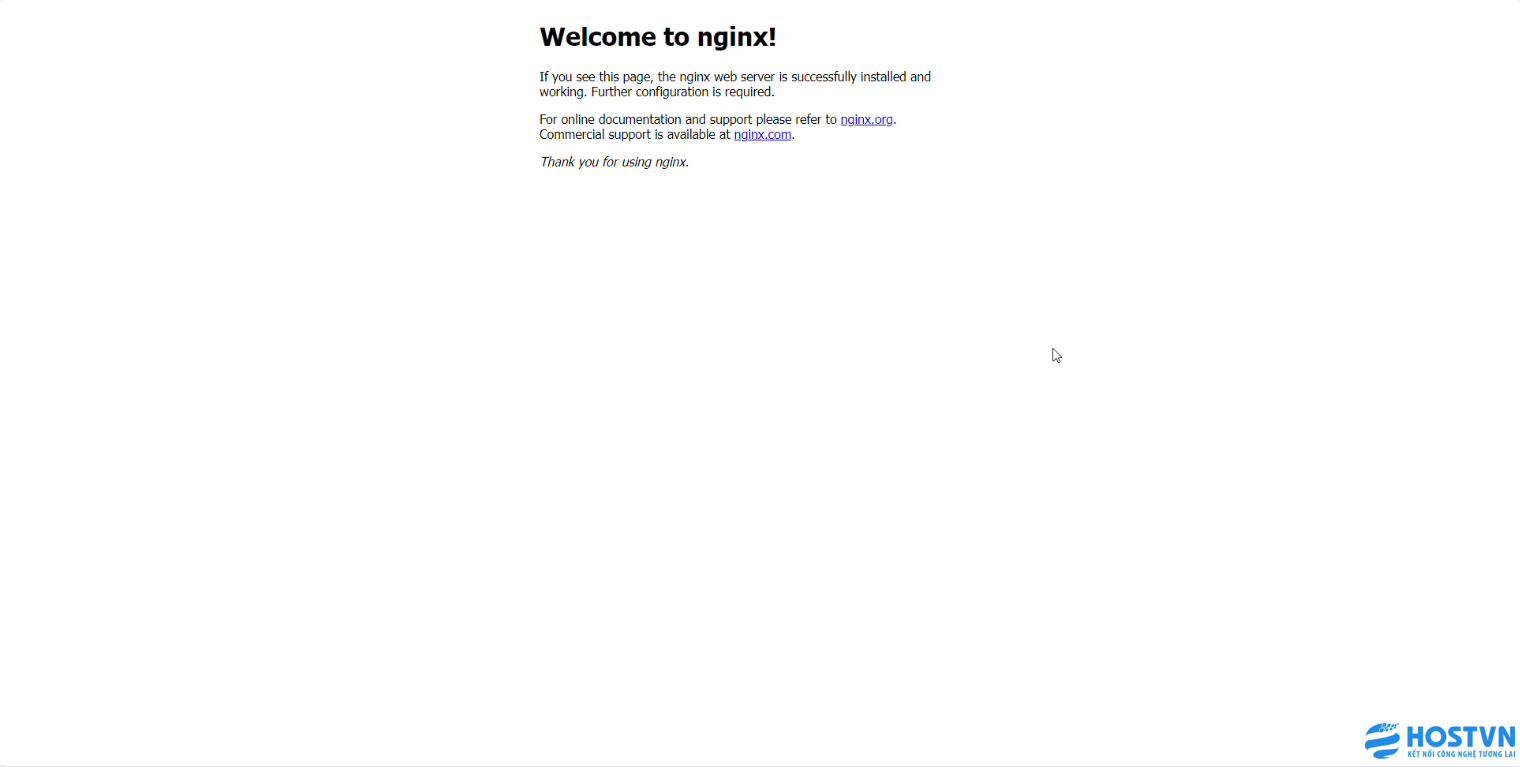
Xác minh rằng máy chủ web đang chạy và có thể truy cập được bằng cách truy cập vào địa chỉ IP của máy chủ.
Từ trình duyệt của bạn,
http://IP_address
chúng ta cần biến người dùng Nginx thành chủ sở hữu của thư mục web. Theo mặc định, nó thuộc sở hữu của người dùng root.
chown www-data:www-data /usr/share/nginx/html -R
Cài đặt MariaDB Server
MariaDB là một máy chủ cơ sở dữ liệu phổ biến. Việc cài đặt rất đơn giản và chỉ cần một vài bước như được hiển thị.
root@hostvn:~# apt install mariadb-server mariadb-client
Reading package lists... Done
Building dependency tree... Done
Reading state information... Done
The following additional packages will be installed:
  galera-4 libcgi-fast-perl libcgi-pm-perl libclone-perl
  libconfig-inifiles-perl libdaxctl1 libdbd-mysql-perl libdbi-perl
  libencode-locale-perl libfcgi-bin libfcgi-perl libfcgi0ldbl
  libhtml-parser-perl libhtml-tagset-perl libhtml-template-perl
  libhttp-date-perl libhttp-message-perl libio-html-perl
  liblwp-mediatypes-perl libmariadb3 libmysqlclient21 libndctl6 libpmem1
  libsnappy1v5 libtimedate-perl liburi-perl liburing2 mariadb-client-10.6
  mariadb-client-core-10.6 mariadb-common mariadb-server-10.6
  mariadb-server-core-10.6 mysql-common socat
Sau khi cài đặt hoàn tất, hãy bật MariaDB (để tự động khởi động khi hệ thống khởi động), khởi động MariaDB và xác minh trạng thái bằng các lệnh bên dưới.
systemctl start mariadb

systemctl enable mariadb

systemctl status mariadb
Cuối cùng, bạn sẽ muốn bảo mật cài đặt MariaDB của mình bằng cách chạy lệnh sau
mysql_secure_installation
NOTE: RUNNING ALL PARTS OF THIS SCRIPT IS RECOMMENDED FOR ALL MariaDB
      SERVERS IN PRODUCTION USE!  PLEASE READ EACH STEP CAREFULLY!

In order to log into MariaDB to secure it, we'll need the current
password for the root user.  If you've just installed MariaDB, and
you haven't set the root password yet, the password will be blank,
so you should just press enter here.

Enter current password for root (enter for none):
OK, successfully used password, moving on...

Setting the root password ensures that nobody can log into the MariaDB
root user without the proper authorisation.

Set root password? [Y/n] y
New password:
Re-enter new password:
Password updated successfully!
Reloading privilege tables..
 ... Success!
Sau khi bảo mật, bạn có thể kết nối với MySQL và xem lại các cơ sở dữ liệu hiện có trên máy chủ cơ sở dữ liệu của mình bằng cách sử dụng lệnh sau.
mysql -e "SHOW DATABASES;" -p
Output:
root@vps:~# mysql -e "SHOW DATABASES;" -p
Enter password:
+--------------------+
| Database           |
+--------------------+
| information_schema |
| mysql              |
| performance_schema |
+--------------------+